Set up a VPN access with a Synology NAS
In this article, you’ll find all the information you need to set up VPN access using a Synology NAS (and more specifically the OpenVPN protocol as VPN server and an Android phone as client.
Objective
To set up the needed elements, we will perform the following steps:
- Create a specific user (named vpn) for VPN access.
- Install the VPN Server application .
- Install a Let’s Encrypt certificate
- Setting up the VPN Server application
- Installing and configuring VPN access on the phone (Android)
Create a specific user for VPN access
We’re going to create a local user, named vpn, on the NAS specifically to access the VPN server, so that we can limit rights if necessary.
To create the vpn user:
- Click on the
Main menu(top left on the main screen) - Click on the
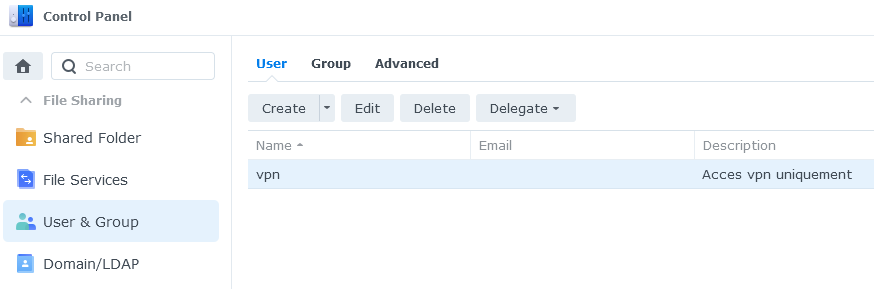
Control Panelapplication - Click on the
User & Groupmenu - Click on the
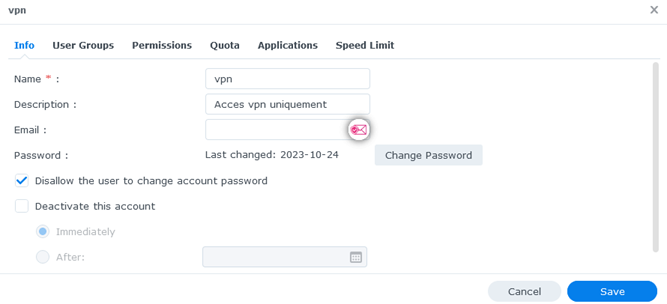
Createbutton, then on theCreate useroption. - Fill in the details of the new local user (named vpn)
- Click on the
Savebutton to validate changes
Form :
Result :
Install the VPN Server application
To install the VPN Server application, follow the steps below:
- Click on
Main menu(top left of main screen) - Click on the
Package Centerapplication - Click on the
All Packagesfilter in the menu on the left of the screen - Select the
VPN Serverapplication and click onInstall
Note : If the Package Center application asks you to install dependencies, click on Yes.
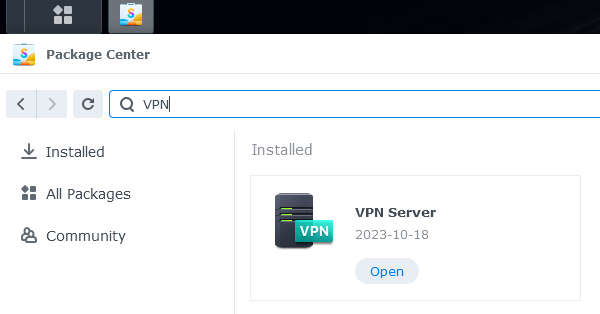
To check that the VPN Server application has been installed, follow the steps below:
- Click on
Main menu(top left of main screen) - Click on the
Package Centerapplication - Click on the
Installedfilter in the menu on the left of the screen - You should see the
VPN Serverapplication with theOpenoption.
Install a Let’s Encrypt certificat
To secure access to the VPN, we’re going to set up a Let’s Encrypt certificate for the VPN Server application:
- Click on the
Main menu(top left of main screen) - Click on the
Control Panelapplication - Click on the
Securitymenu and click on theCertificatetab - Click on the
Addbutton to add a certificate
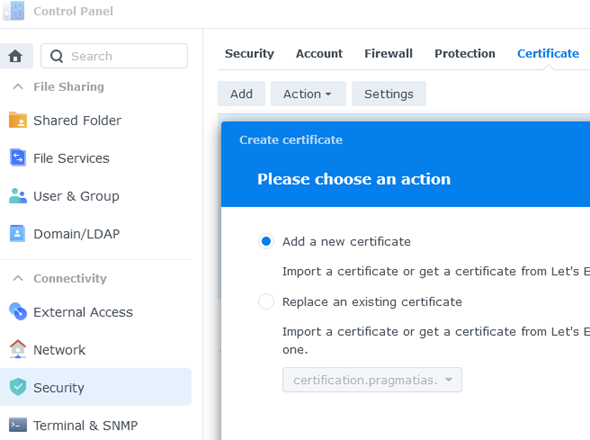
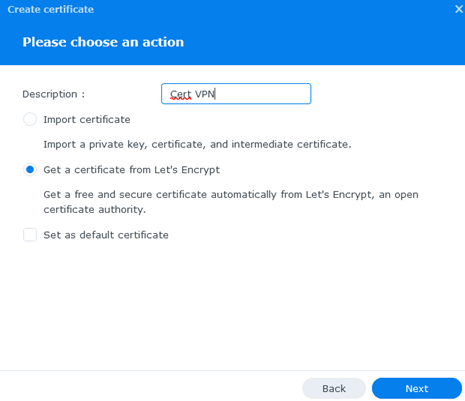
- Fill in the description, select the
Get a certificate from Let's Encryptoption and click on theNextbutton
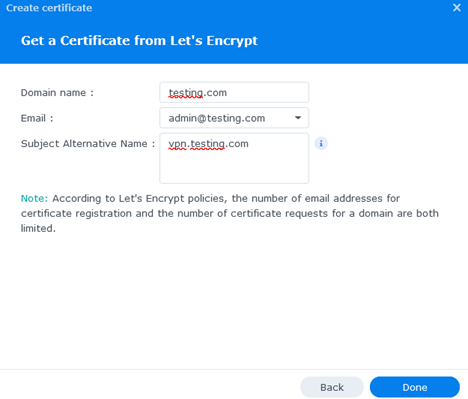
- Fill in the fields and click on the
Donebutton to validate the certificate creation
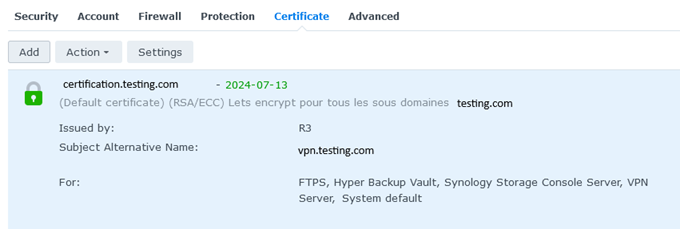
Result :
Setting up the VPN Server application
We’re going to limit ourselves to the OpenVPN protocol, which will enable us to access all the services we require by connecting to the VPN access. It is also possible to use the PPTP and L2TP/IPSec protocols.
To access the VPN Server application configuration menu :
- Click on the
Main menu(top left of main screen) - Click on the
VPN Serverapplication
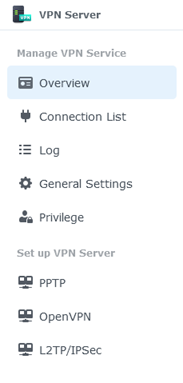
Available options :
- Overview : Shows the current status of VPN usage by protocol (number of connections in progress)
- Connection List : Provides information on current connections (username, IP address, protocol, uptime)
- Log : Log message for connections, disconnections, …
- General Settings: Defines general application behavior and security
- Privilege: Manage rights between users and protocols
Les différentes options disponibles :
- Overview : Donne l’état actuel de l’utilisation du VPN en fonction de chaque protocole (le nombre de connexion en cours)
- Connection List : Donne des informations sur les connexions en cours (nom d’utilisateur, adresse IP, Protocole, uptime)
- Log : Message de log des connexions, déconnexions etc ….
- General Settings : Permet de définir le comportement général de l’application et la sécurité liée
- Privilege : Permet de gérer les droits d’utilisation entre les utilisateurs et les protocoles
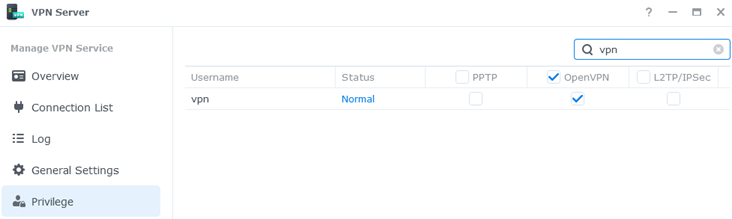
Setting up the Privilege part
For the local user named vpn:
- Select OpenVPN protocol user rights only
- Click on the
Applybutton to validate the change
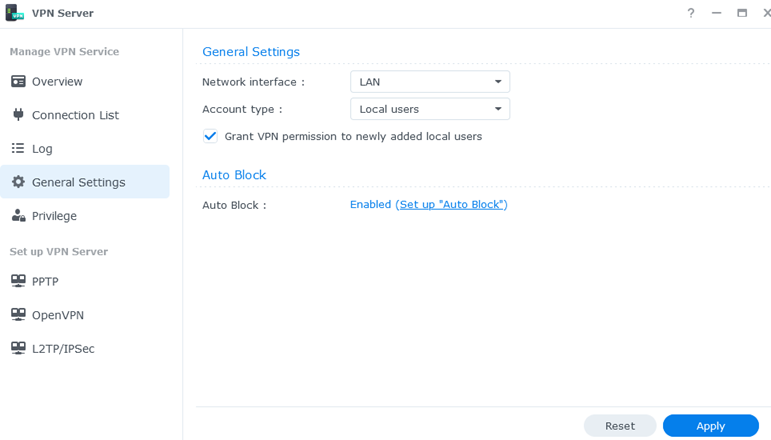
Setting up the General Settings part
For the general configuration :
- Set the
Network interfaceoption toLAN. - Set
Account typetoLocal usersto use local NAS users. - You can enable the
Grant VPN permission to newly added local usersoption if required - Click on the
Applybutton to validate changes
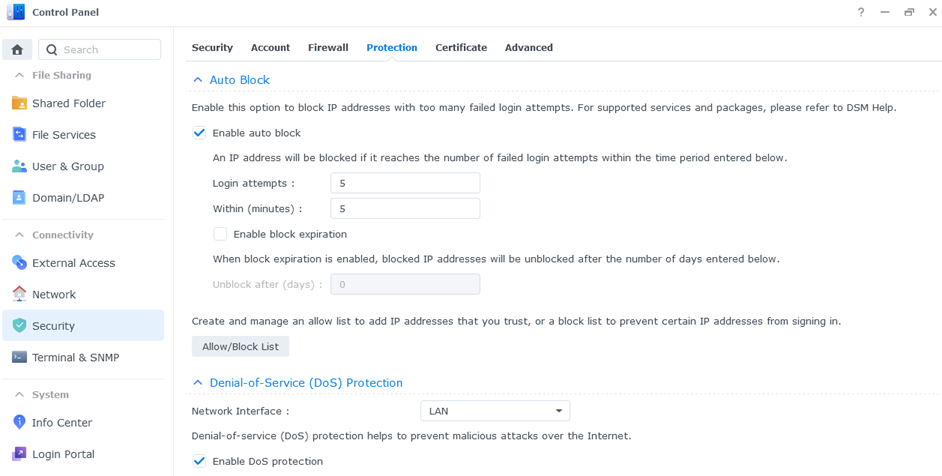
To set up additional security for VPN access :
- Click on the
Set up Auto Blockoption to secure VPN access. - Check the
Enable auto blockbox and fill in the desired values for the number of attempts before blocking (default 5). - Check the
Enable DoS protectionbox on theLANnetwork interface. - Click on the
Applybutton to validate changes
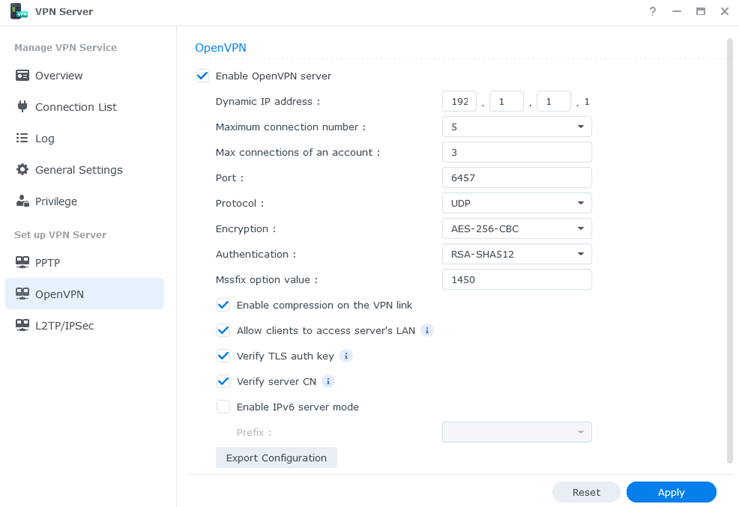
Setting up the OpenVPN protocol
To configure access using the OpenVPN protocol :
- Check the
Enable OpenVPN serverbox. - Fill in the information
- Click on the
Applybutton to validate changes and activate VPN access.
Installing and configuring VPN access on the phone (Android)
Prerequisites: Create the profile file
- Retrieving the default profile file on your workstation :
- Click on
Main menu(top left of main screen) - Click on the
VPN Serverapplication - Click on the
OpenVPNoption - Click on the
Export Configurationbutton
- Click on
- Modifying the default profile file :
- Extract archive
openvpn.zipcontaining the fileVPNConfig.ovpn - Open the
VPNConfig.ovpnfile with a text editor and make the following changes :- Replace the term
YOUR_SERVER_IPin theremote YOUR_SERVER_IP 6457line with the IP address used to access the NAS (e.g.vpn.testing.com) - Below the line modified in the previous step, add the line
client-cert-not-requiredto be able to connect without needing a client-side certificate - Replace the last line
verify-x509-name 'testing.com' namewith the lineverify-x509-name "testing.com" name
- Replace the term
- Extract archive
- Copy the modified
VPNConfig.ovpnfile to the phone
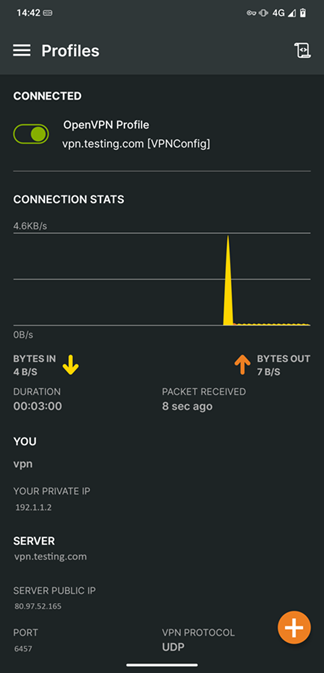
Installing and configuring VPN access on the phone
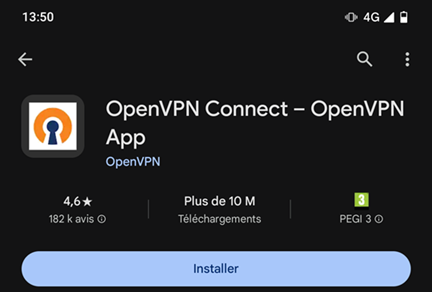
- Install the
OpenVPN Connectapplication using Google Play Store
- Open the application and select the
Upload Filetab for import the created profile file (prerequisite)
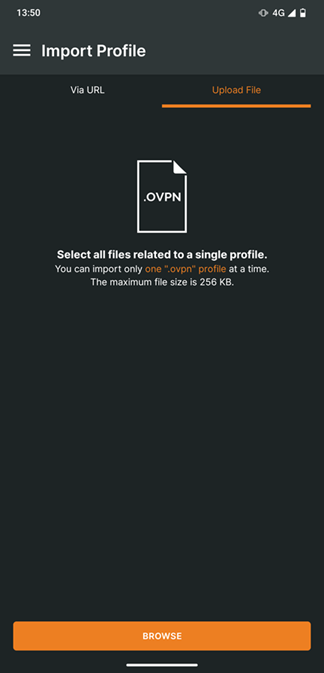
- Select the
VPNConfig.ovpnfile - click on the
OKbutton to validate the import - Fill in the necessary information using the vpn user and click on the
Connectbutton
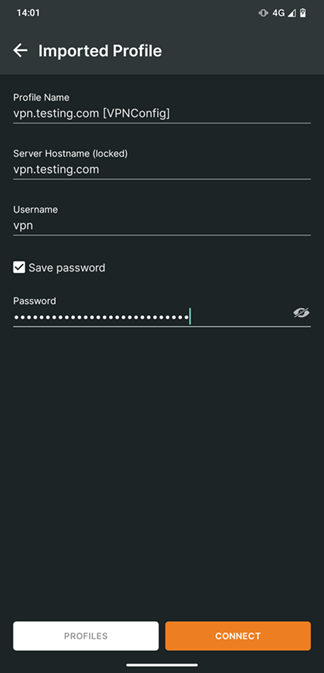
Result :